So we actually did this a little while ago. During a public holiday long weekend earlier in the year.
But now I will catch the blog up now on where we are at with it all.
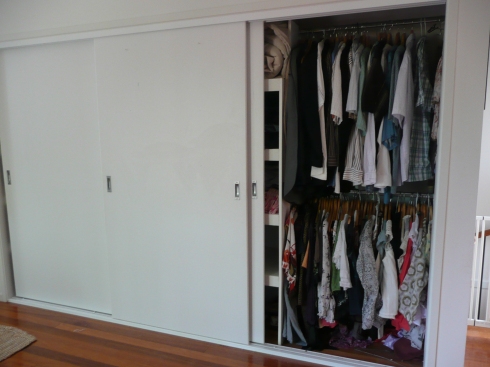
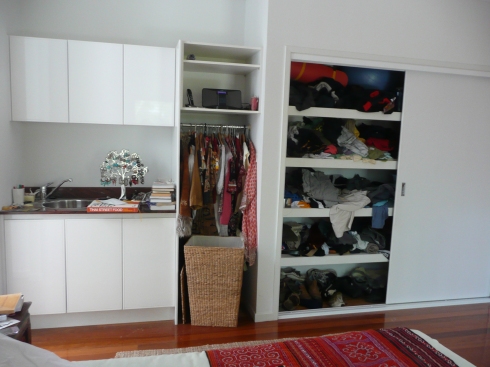
So, from when we first moved in I knew the wardrobe space in the main bedroom was not going to cut it. There was a built in robe, but for some reason it only had a teeny tiny amount of hanging space – and it was all 1/2 hanging space – no long hanging space. See:
behind all the other doors of the built in robe was shelves which was no good for me.
Husbot helped out by converting the fridge space in the bedroom kitchenette into long hanging space for some dresses and thing – skirts had to sit on a shelf (are you saying WHAT??? who has a kitchenette in their bedroom?? check out the plans here);
but really…. it was far from satisfactory. hahahaha
so Husbot started telling me he would make a walk in robe for us. “But your not a carpenter?” I would say “Your a lawyer who now works for NGO’s… what makes you think you can build a walk in robe?”
His reply – ” I have watched some You Tube tutorials” (!!!!!!!)
So for about I year I kept saying no. I did not believe You Tube tutorials were adequate training and refused. Then Husbot conceded to my demands to get a quote from a REAL carpenter. It was thousands and thousands of dollars!!! much more then we had planned.
So suddenly you tube tutorials looked a whole lot better to me! hahahaha and I said he could go ahead 🙂
first we planned it out.
I just wanted something simple – two sides (his and hers) with a shelf on each side, a rail for short and long hanging and draws for other stuff.
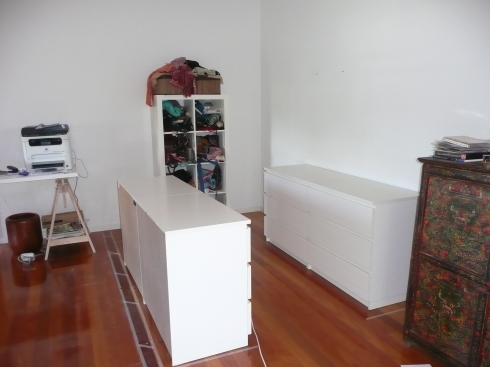 To explain: the tape is where the walls go.
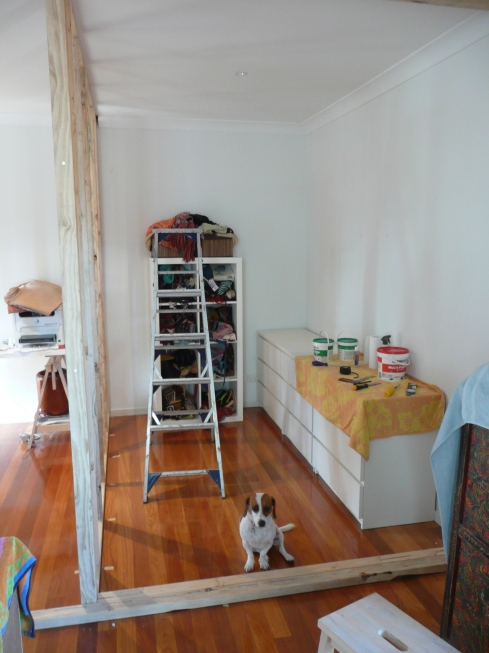
There are 4 Ikea malm draws and 1 Ikea expedit for my handbags to make sure we will fit everything in
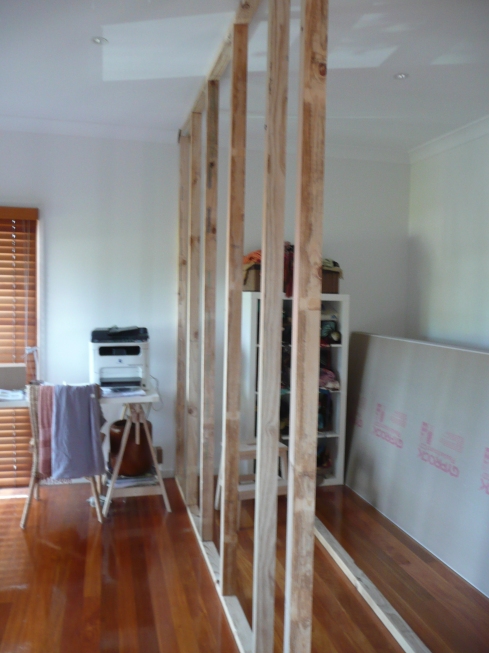
and there you have the begining of a wall.
Was I nervous when we nailed the bottom batton to the floor? why yes I was! – it would be hard to undo and our floors are really nice – would have hated to ruin them for nothing!
It was a family affair – Indai was foreman (fore-dog?) for the day.
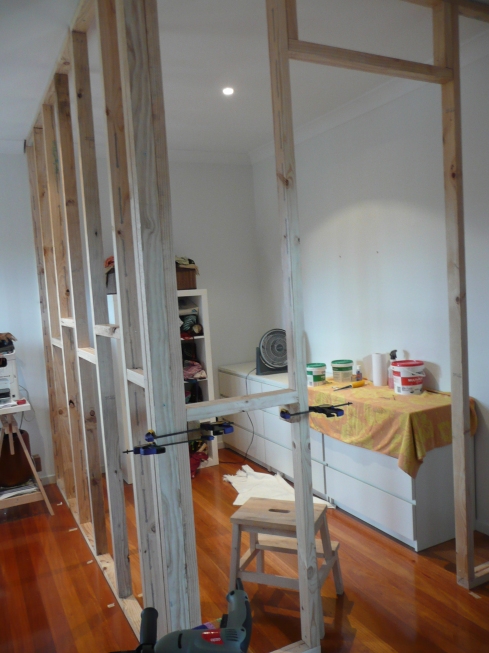 those things there are called noggings – see… you tube tutorials can even teach me how to be a carpenter!
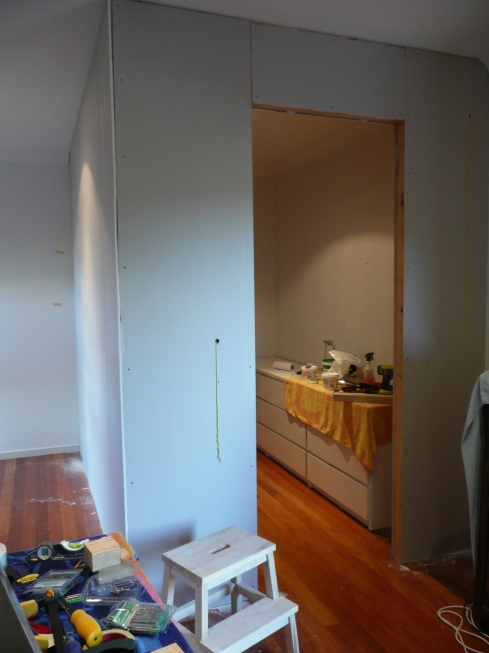 then we put the gyprock on. I had no idea before but I know now – gyprock is really really heavy!
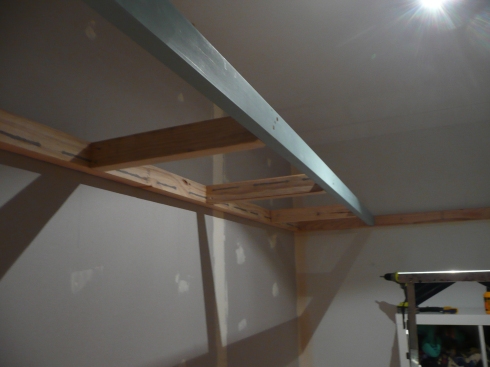 because my Dad loves to build stuff he had started being involved now – also because the project had run longer then the long weekend. Anyway when the frame for the shelf went up I felt like it was moving along.
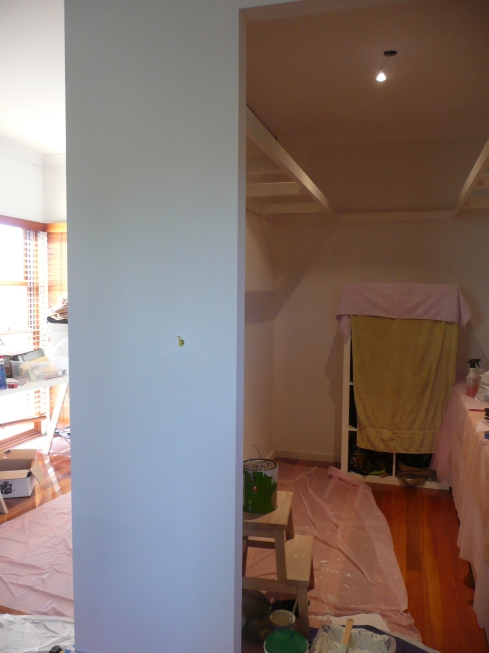 we did everything ourselves. The gyprocking, plastering, sanding, painting etc. Our only helper was Dad (and Indai)
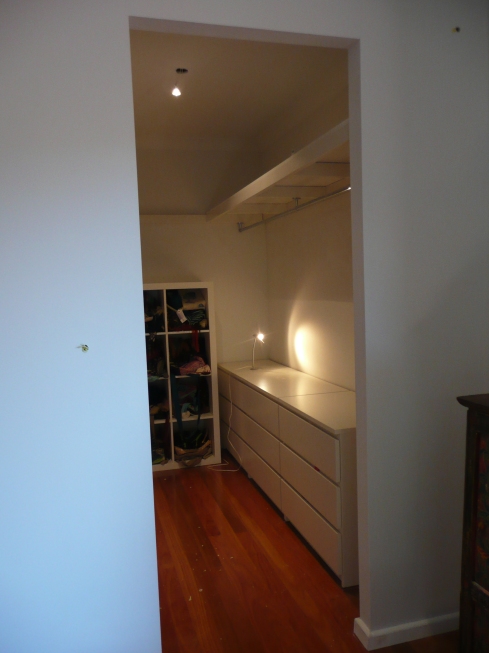 with the clothes rail in and the shelf on top of the frame we were almost done!
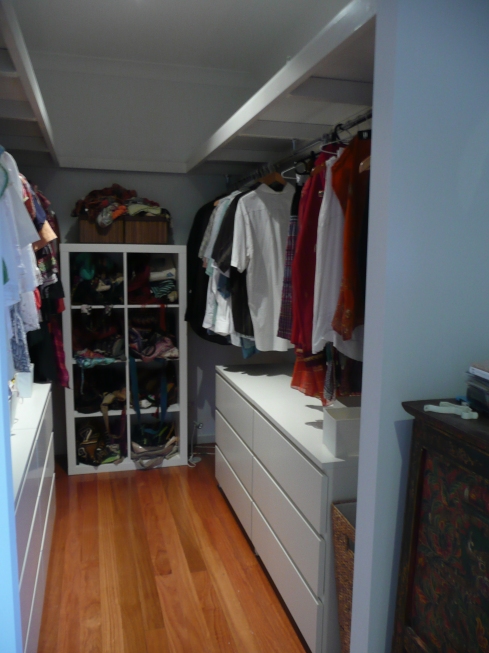
Husbot has the right hand side. I have the left (except that I have stolen a little of husbots for my skirts). Of course the space above the draws is for short hanging and then there is space at the back for long hanging. There are also shoe racks at the back on either side of the book case. The books case is full of my handbags and there is space for a washing basket at the front on the right.
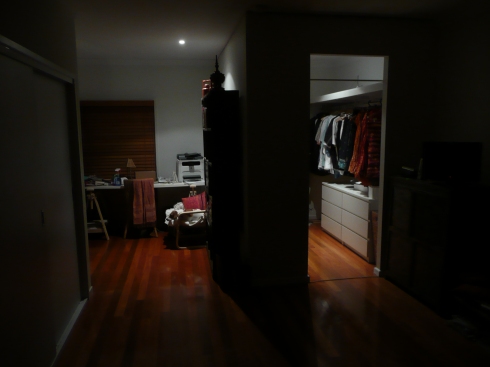 we now have two seperate areas in the bedroom. Study on the left and walk in robe on the right.
there is still some stuff to finish on the walk in robe – like light switches, a door etc etc hahaha but we will get to those later. The important thing is that the clothes are now in their proper place and no longer hanging in the fridge recess of the bedroom kitchenette!


2 comments
Comments feed for this article
October 8, 2011 at 8:39 am
kerrie
well done husbot! clearly my husband needs to spend more time of utube looking at building projects and less time on utube looking at cars. lol
October 8, 2011 at 8:44 am
zobotvsthemachine
yup. I had my doubts but it has turned out ok in the end. Don’t worry too much though – he has gone back to using the interwebs to keep tabs on football and utube for finding important things like this: (Epic Rap Battles of History)